Make your own giant dinosaur for cheap or free with stuff you can get at the hardware store, or might already be in your home! (And it’s lots of fun, without the need for a fancy 3D printer.)
Tutorial by Barnas Monteith
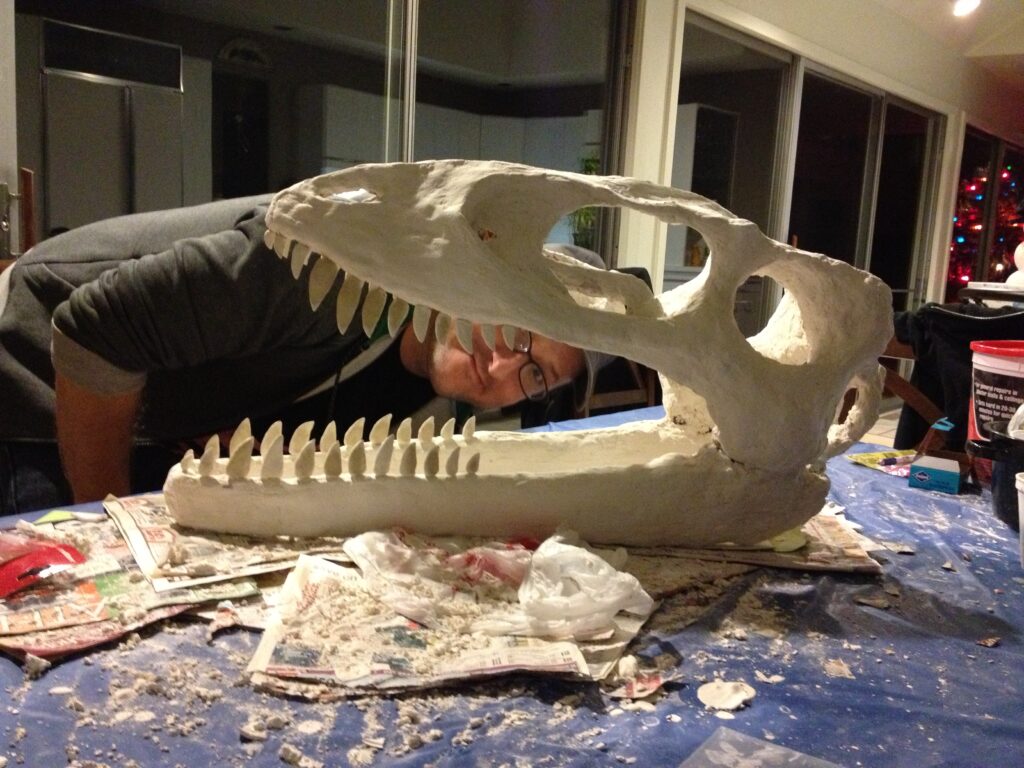
When you see a dinosaur skull at a museum, doesn’t it make you wish you had one at home?
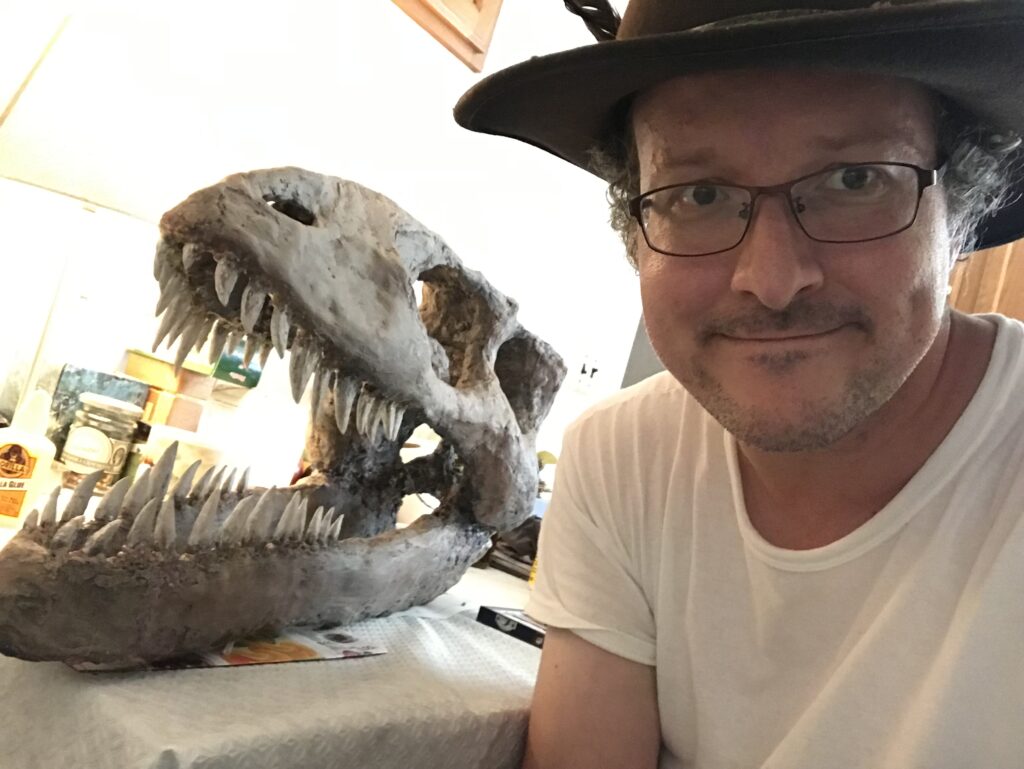
Me, with my new nearly finished dinosaur skull…
For a better, high resolution picture of my final dino skull, check out this piece about some of my dino outreach work in this Boston Herald article
Who doesn’t need a huge dinosaur skull in their dining room, classroom or even bedroom to greet you in the morning? Well, now you can have your very own low cost theropod (meat eating) dinosaur skull, by following these instructions. It’s also great to learn a little bit about skull anatomy (which you probably wouldn’t learn if you simply 3D printed a big skull). Because this project requires some drying time between steps, expect it to take several days to complete. I needed an economical and lightweight but relatively strong dinosaur skull for various public dino education events, to put on our display tables, so I decided to do the following project, and save at least a few hundred to a few thousand dollars over a resin or plaster reproduction cast, to produce a dinosaur skull that is not very far from professional looking (although not exactly realistic or completely accurate, it’s good enough for a display table or expo). I did this project for under $20, including everything (and of course I used various 50% off coupons at the major arts & craft stores, to get some parts a bit cheaper, but you can always order online and get pretty low pricing too).
Everyone needs a scary realistic dinosaur skull at home!
These are instructions for a generic looking theropod skull that is about 2-3 feet long (certainly big enough that a real one could eat my head). For inspiration about a more specific theropod species, look up Nanotyrannus or Deinonychus, as a starting point. Parents and children should work together because some parts, like the wire and mesh, may be sharp or a little tough to manipulate. However, I found pliers or related tools were not necessary with the type of armature wire I used at all, and most likely could be manipulated by some children.
Parts you’ll need:
- 2 Activ Wire Mesh” 12×24″ sheets (aluminum mesh for making 3D sculptures – you might be able to use chicken wire, or window screen mesh instead)
- 1 pack Armature Wire 1/16″ diameter model making wire, 16′ (you might be able to use some thick copper wire around the house instead)
- 1 pack Armature Wire 1/32″ diameter model making wire, 16′
- scissors
- 1 or 2 plaster of paris 4.4 pound hobby packs, or one 8 lb tub (a good brand is DAP; you could also possibly use drywall crack filler)
- a big bucket, capable of holding water (say at least 8″ depth)
- baking flour (for paper mache)
- a pile of old newspapers
- a small amount of paper clay (at least around 5 ounces), (not modeling clay containing oils, polymer clays or regular rock-based clays)
- coarse sandpaper
- Superglue / Crazy Glue (for the teeth, and/or Gorilla glue for extra strength)
- acrylic paints of your choice
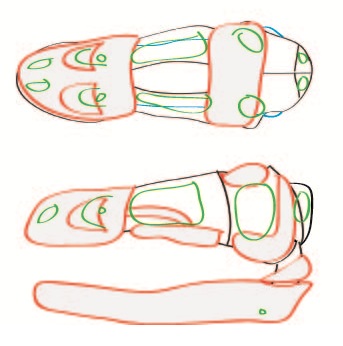
It’s always good to start with at least a rough plan. Here’s a sketch of what I’m hoping to make, starting from the basic armature:

And here’s a little more detail on how I’d like to make some of the holes in the skull (this is a guide for the wire mesh layer – you can add more mesh where you deem necessary, but these are the main regions which require mesh):
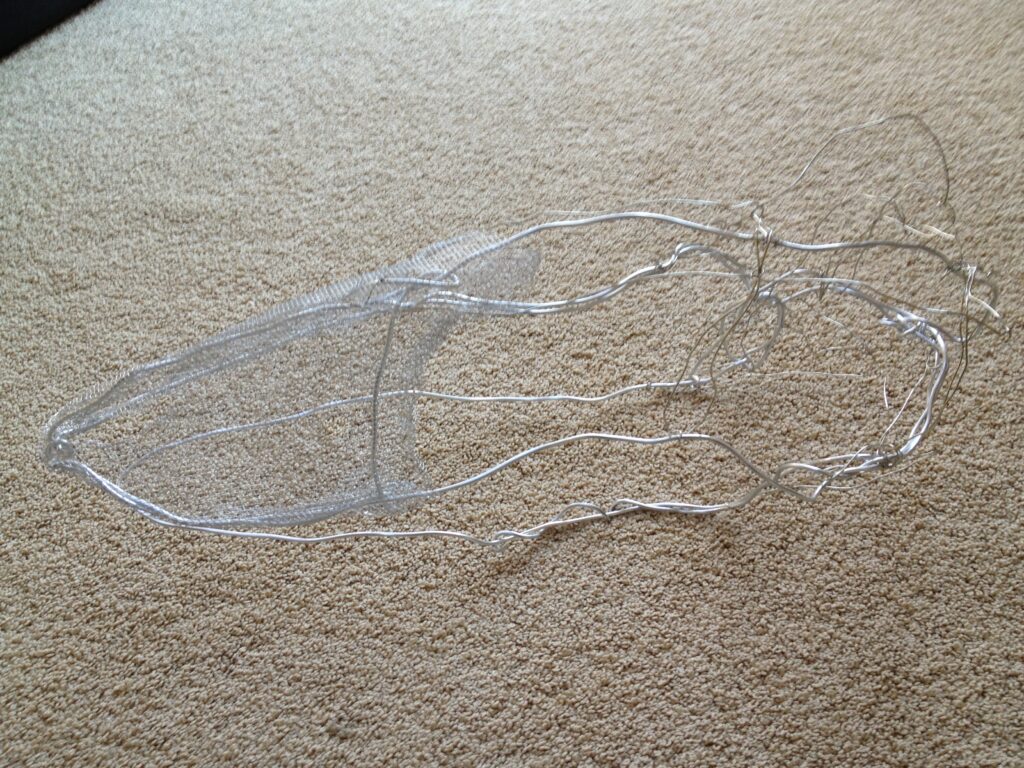
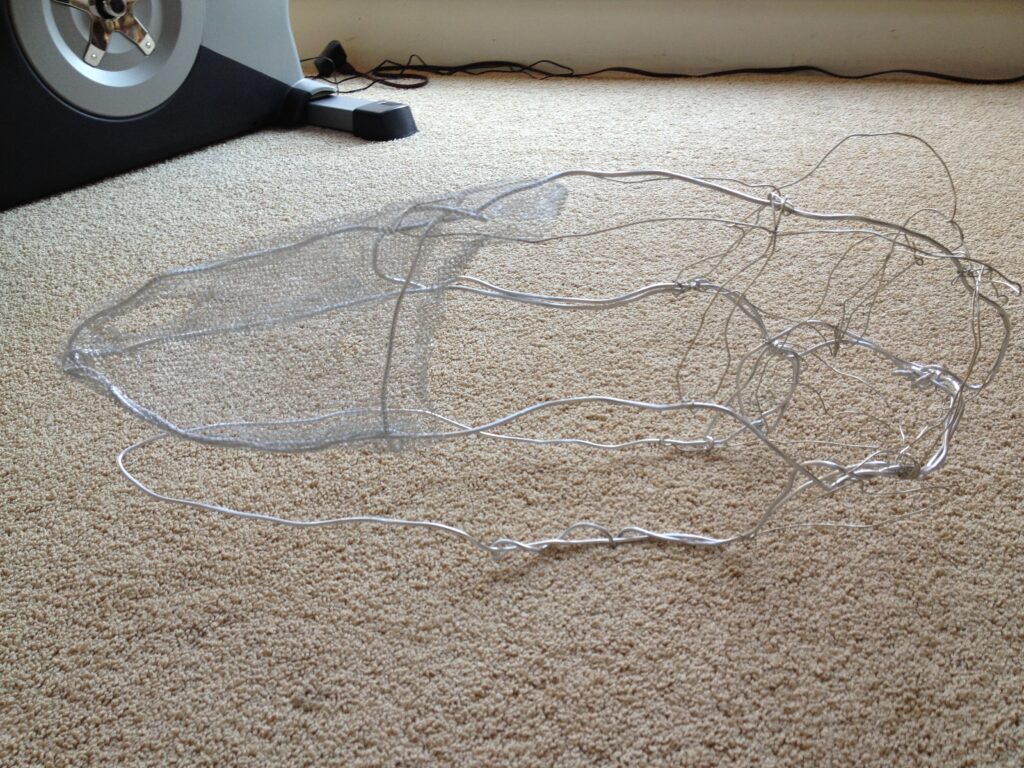
So, let’s get started with the basic armature:
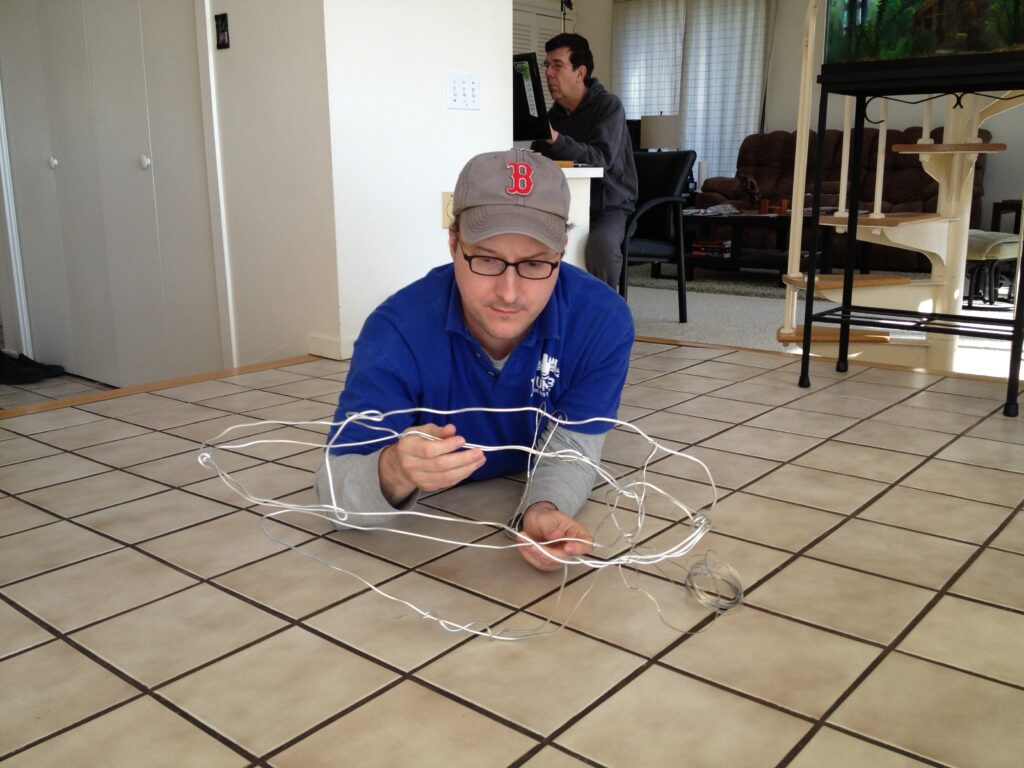
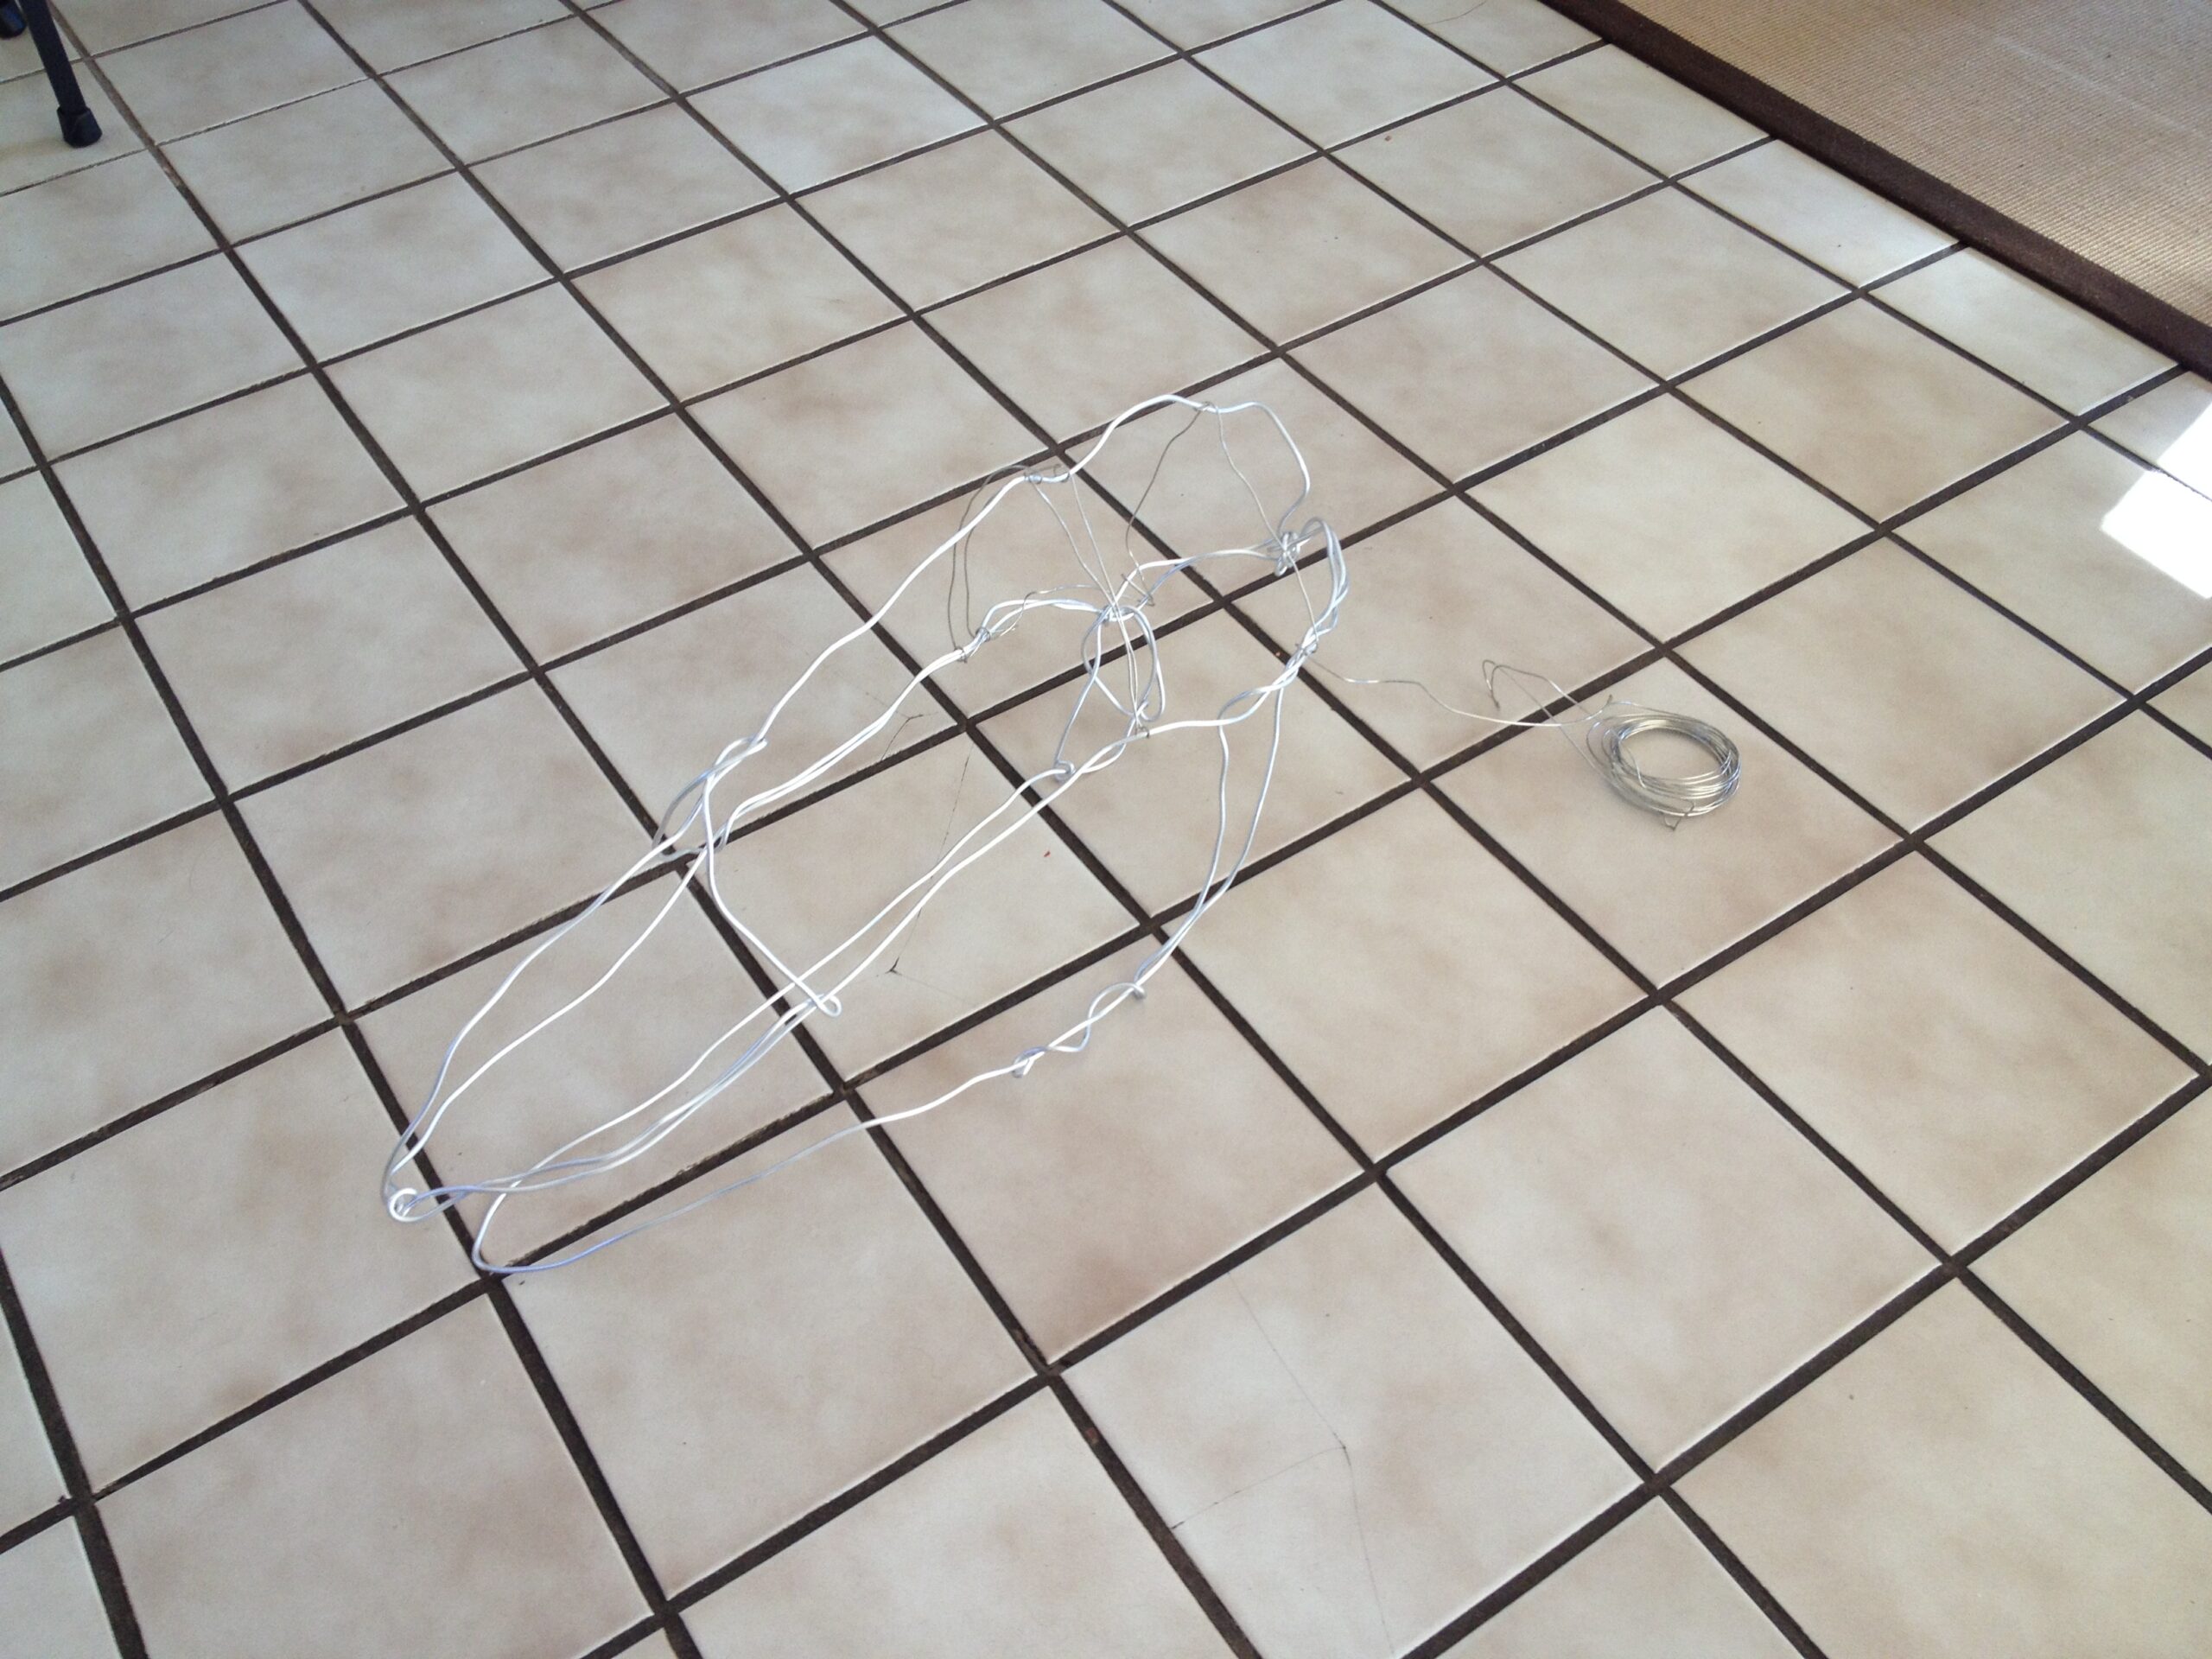
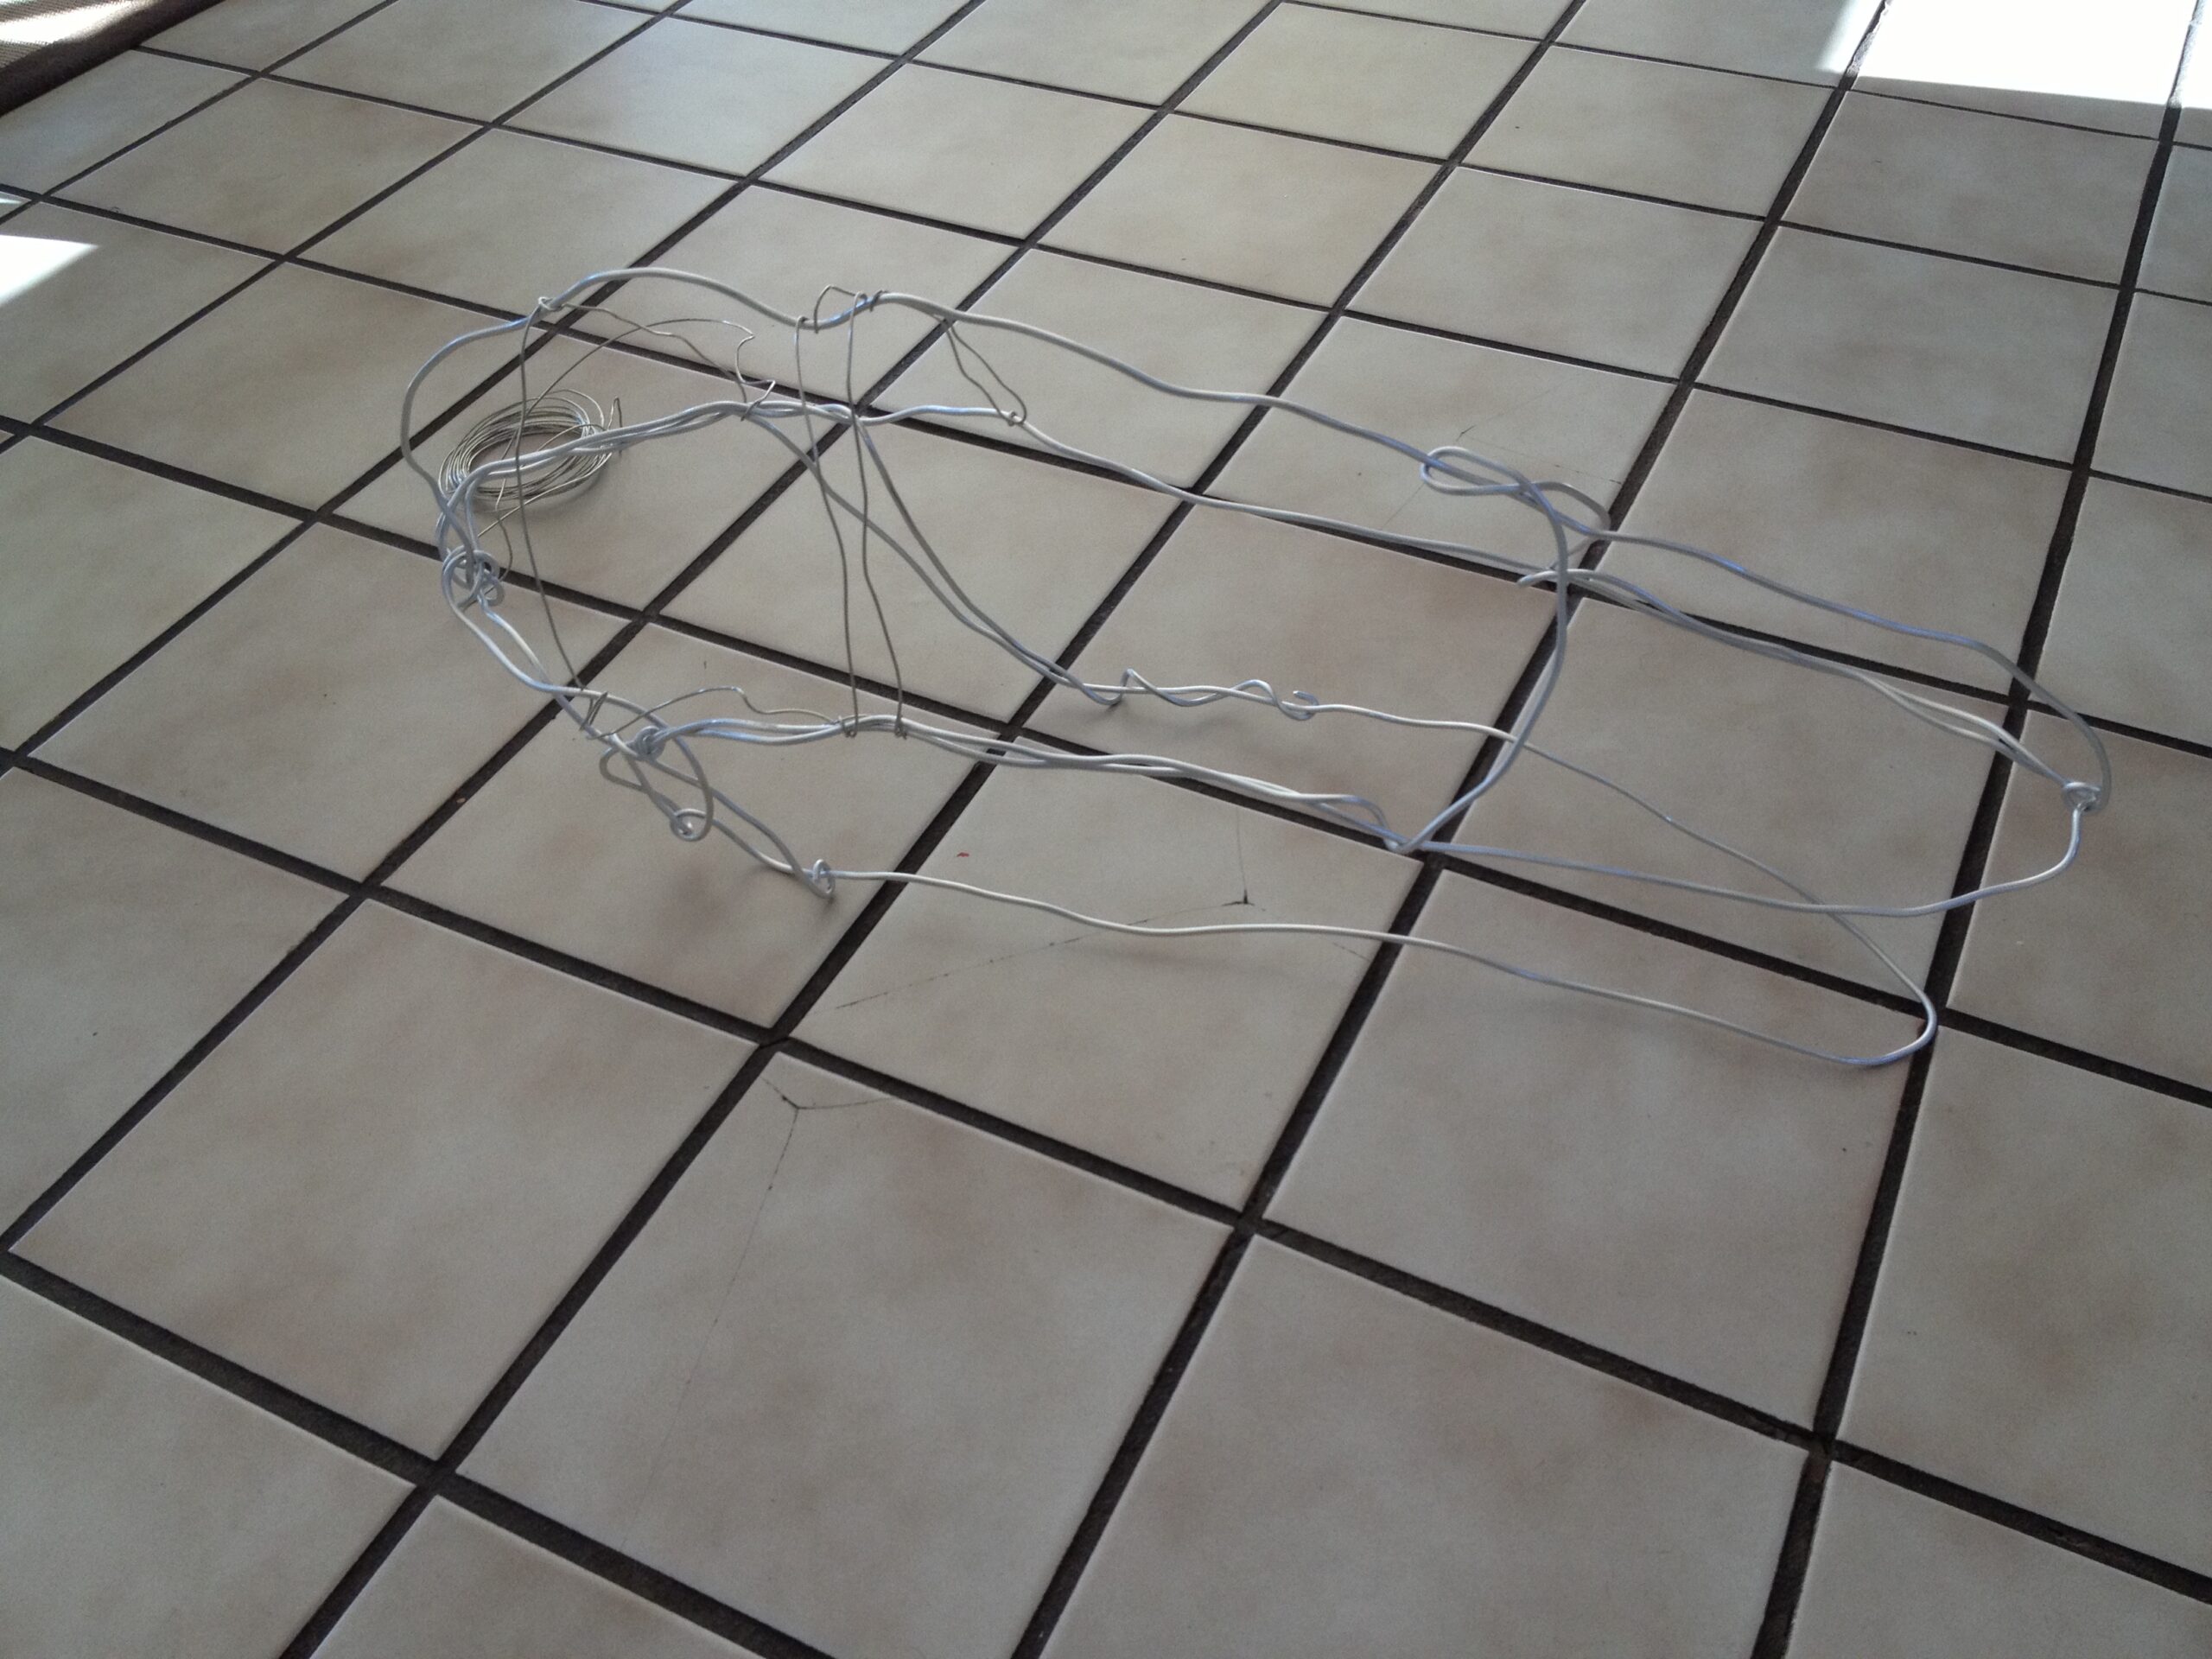
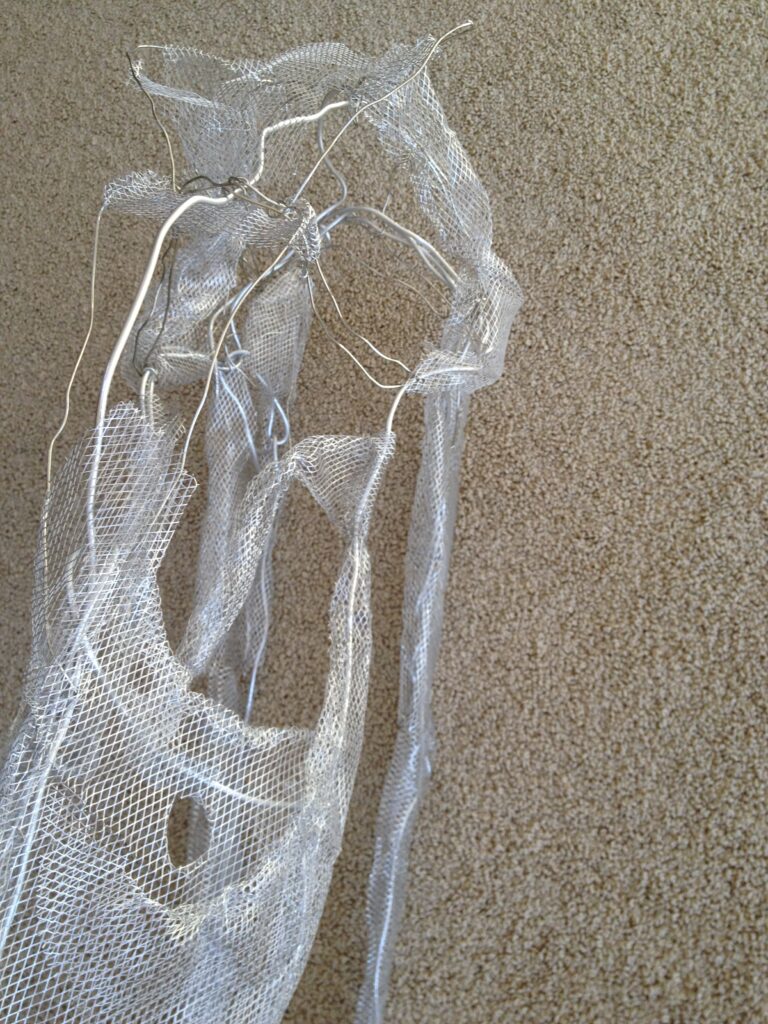
1. Take the thick armature wire and make a general outline of the dinosaur skull, and use the thin armature wire to add supports. With 16 feet apiece, you have enough to make some loops and make a general outline like the following. At this stage, you don’t have to be terribly precise, but it should look roughly like the following pictures. Be sure to keep the jaw connected to the top part of the skull, with at least 2 connection points, with several loops to make sure it’s extra strong.
I just use my hands, and no tools to shape the armature wire — I find even the thick alloy wire is pretty easily workable
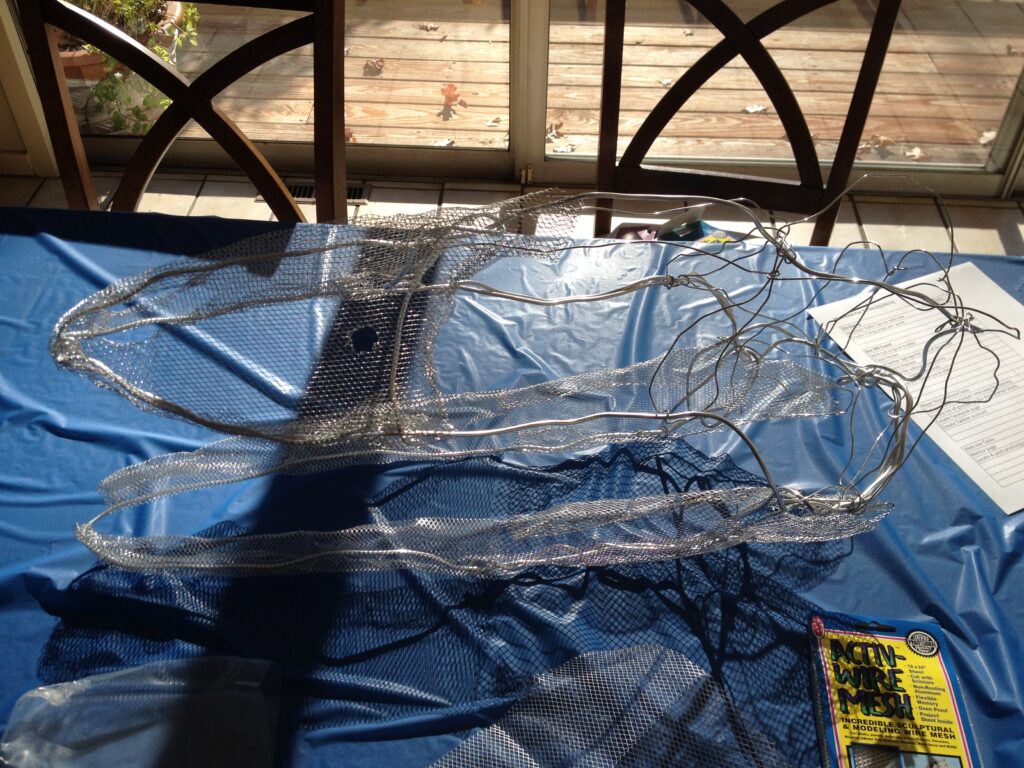
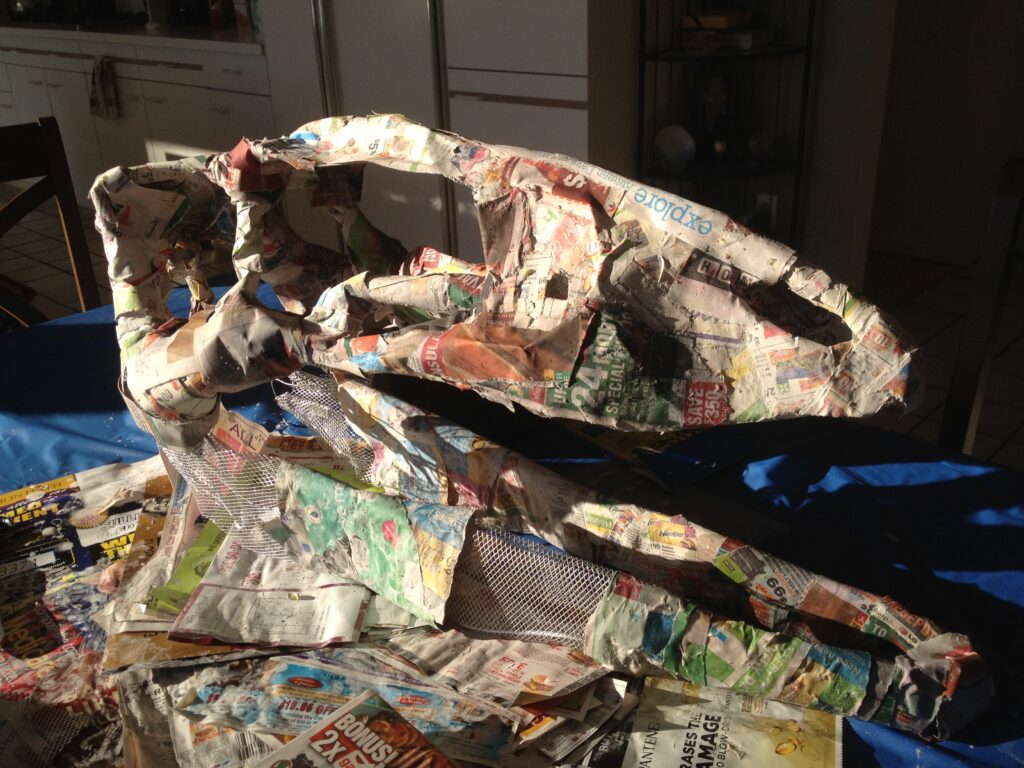
2. Take wire mesh and cut with scissors where needed, and make 3D pieces over certain parts of the wire armature, like the following diagram and pictures. It is important to make a nice thick jaw, and to cover the snout. Also note that the snout has a 3D Nike schwa-looking region, just behind the nostrils. It is good to use the mesh for that. Be careful because the edges are sharp. To anchor, just wrap a little bit around the edge of the With 2 sheets of mesh, I used about 90% of the material to make the following 3d template. This whole process to get to this point may take several hours of time.
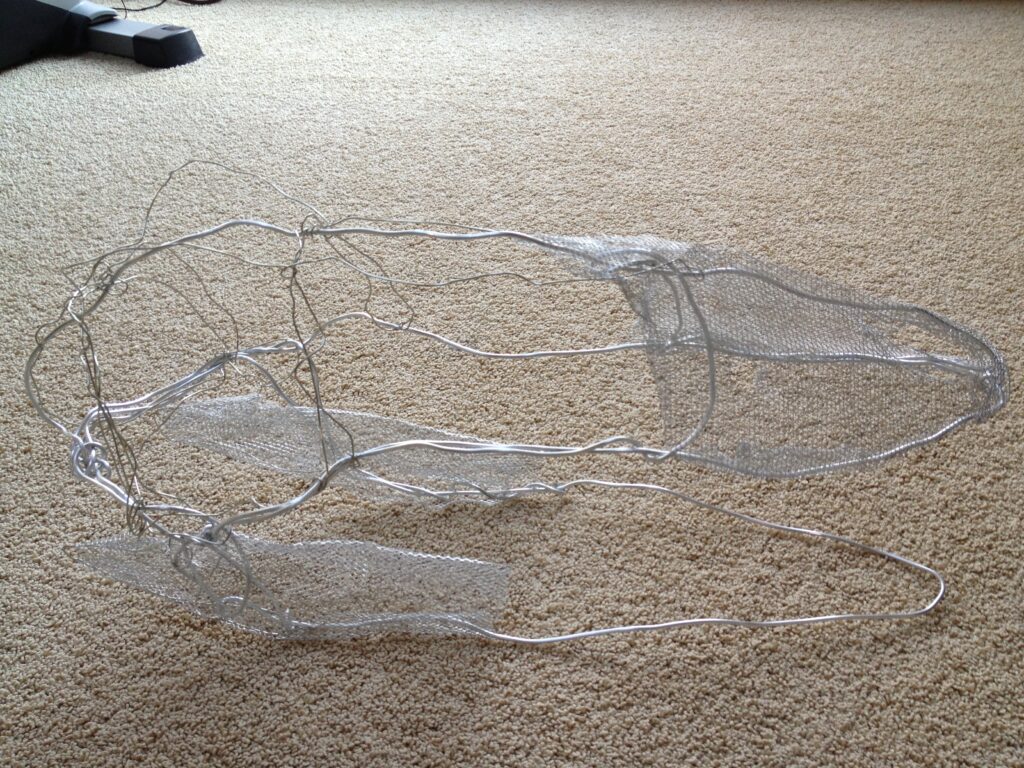
Applying more mesh, wrapping the mesh around the armature
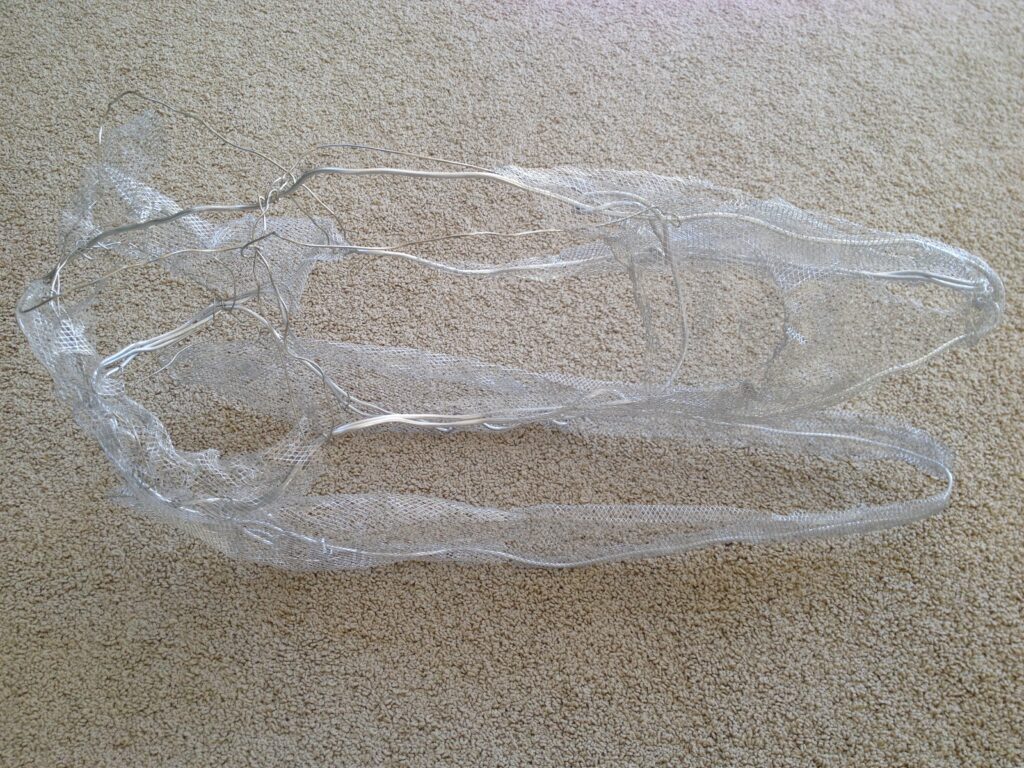
Final armature wire and mesh overlay – note a small amount of duct/masking tape was used in the front of the lower jaw for added stability, but may not really have been necessary
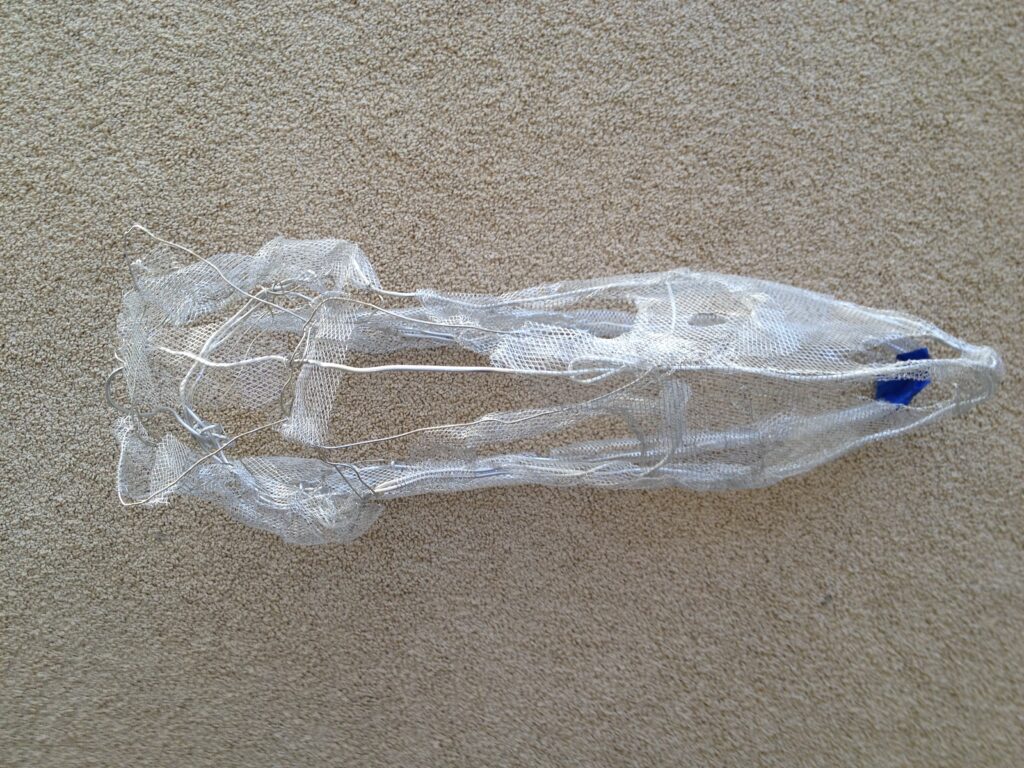
Closeup with mesh covering – note how a second layer of mesh was used to create the “shwa” effect around the snout’
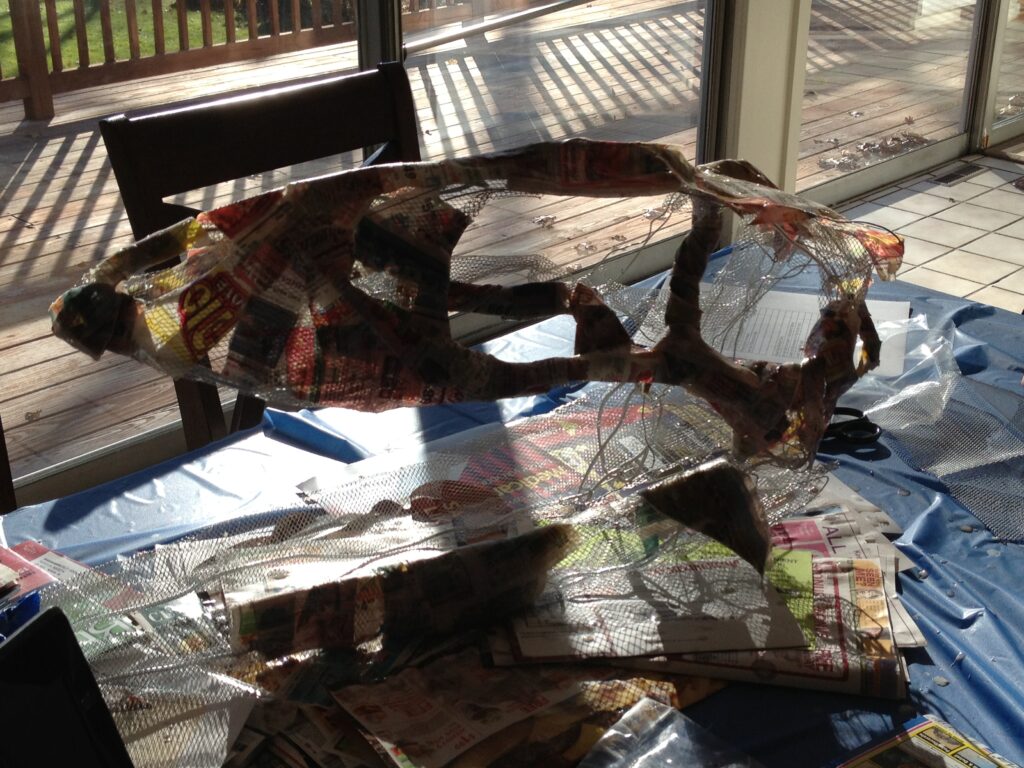
Here’s where it will start to get a little bit more messy, so I’ve put it on a table with a sheet of plastic:
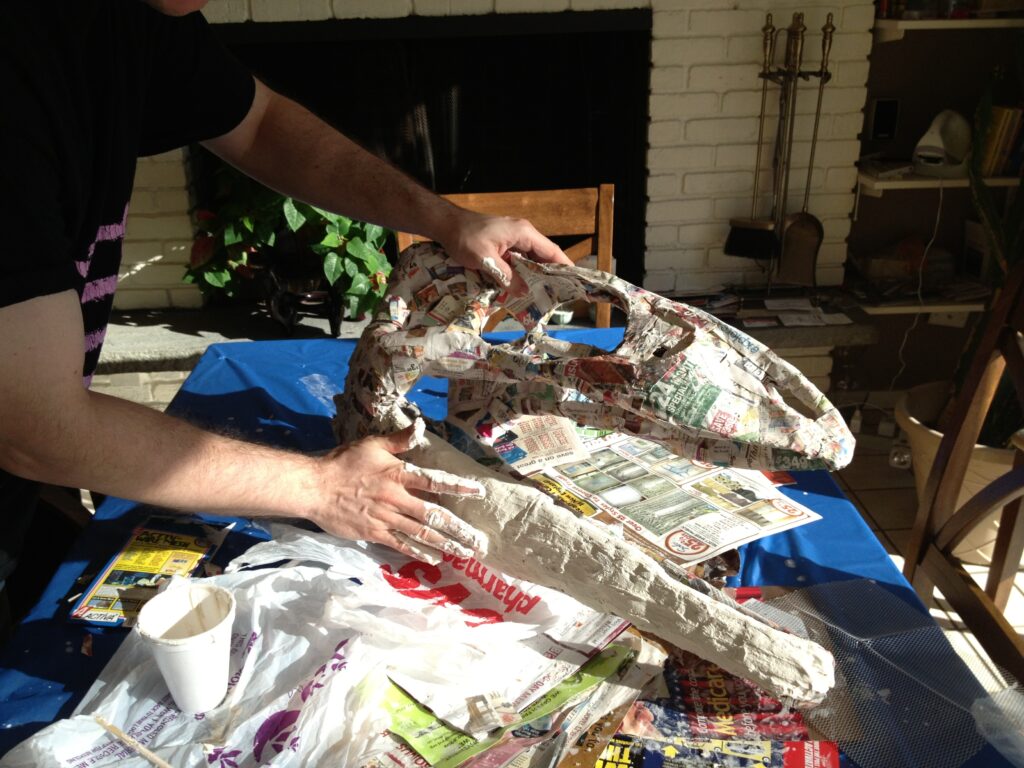
3. Papier mache. Before beginning doing anything messy, make sure you set down some waterproof sheets and some newspapers, to make sure your work area can be cleaned easily later on. It will definitely get wet and sloppy. Mix some water and flour (roughly 2 cups of water to about a half cup of flour at a time), and soak some ripped strips of old newspaper. If you find it’s not thick enough to hold together well, add more flour. Then, carefully wrap the paper mache around each and ever piece of mesh and wire armature. 1-2 layers should be adequate. If necessary, take a break and let the paper dry, and turn the skull to the side to coat some of the interior areas (although really nobody can see inside the nostrils or under the skull, so detail is not terribly important here, and more paper and plaster weight makes the skull heavy; use your own discretion depending on your personal taste for detail). Look at the following to see the process and final product at this stage. Make sure there are no bubbles or edges sticking out. If there are, then when they dry, you’ll need to cut off extra paper with scissors (make sure you continuously trim the nostrils and other holes regularly too, because every additional layer might make it look worse, unless it’s clean early on). You’ll need to wait about a day for the whole skull to dry; if you add more layers, wait another day until it totally dries. Keep in mind that even real museum fossil skulls are usually quite deformed, and have bumpy parts, so don’t be discouraged if things are not perfectly symmetrical or if there are extra bumps in some areas and not others. Don’t forget to leave holes (for nostrils, eyes, etc.) where necessary!
Note where the nostrils, holes and other features are located before applying paper mache. Here’s how I apply the wet paper mache over the mesh and wire armature:
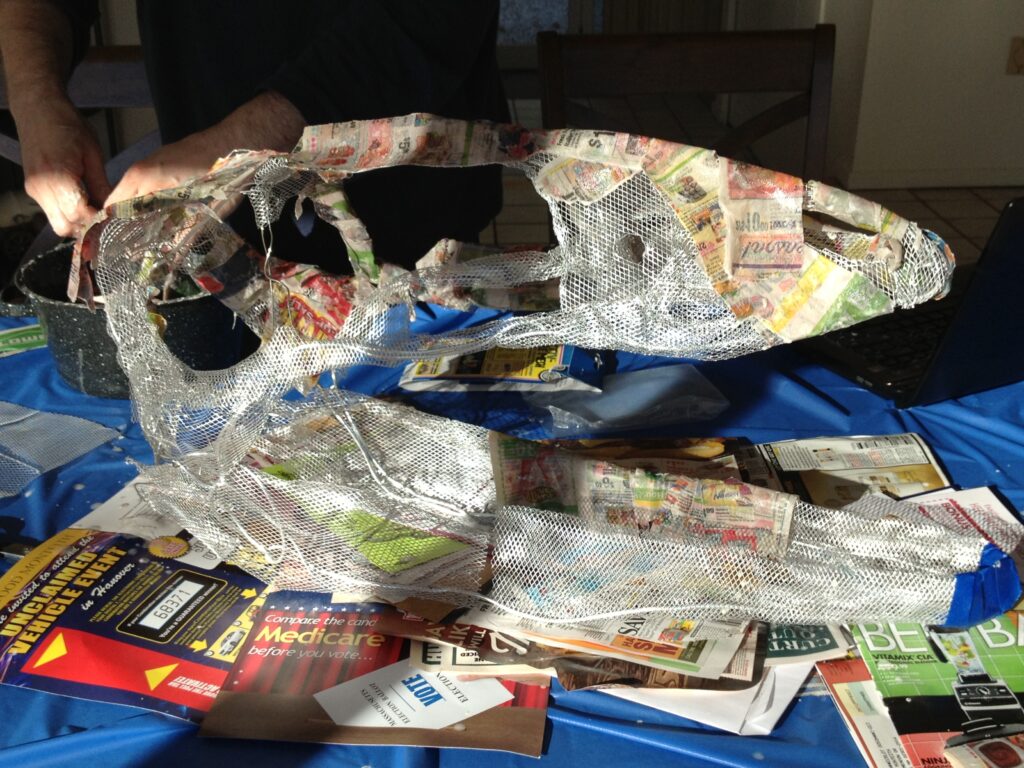
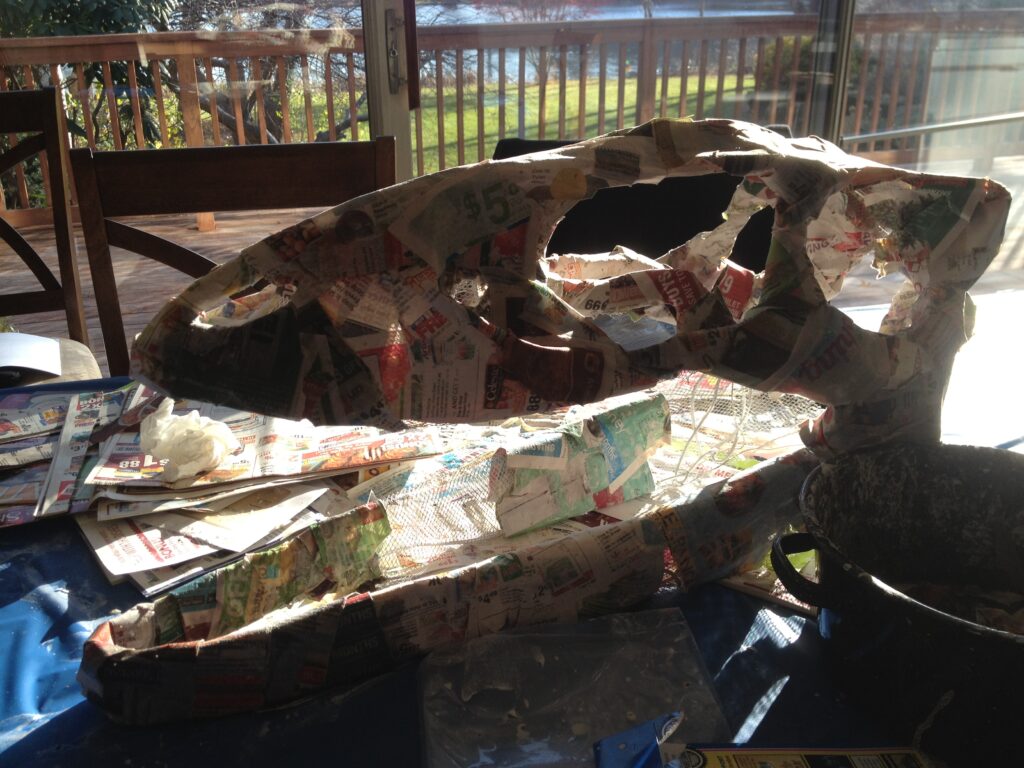
Mostly completed paper mache layer. Paper mache, after drying, provides a solid foundation, for later layers of plaster of paris.
4. Plaster of paris. Mix plaster of paris, with cold water in disposable cups and use a stick or other wooden utensil to mix it together. Add more plaster until it becomes the consistency of more than gravy but less than toothpaste. Work fast because plaster dries fast. You’ll probably need many disposable cups and many sticks (maybe 10 or more), because they get caked with old plaster very easily. Add generous layers of plaster over every single piece of paper, and fill in all cracks and holes (except for the ones you need, like nostrils, etc.). You may need two layers, in which case, you may need half a day for the plaster to fully dry before adding more layers. Alternate laying it down on one side and then the other to make sure you coat all the bottom and interior parts (again you may not need them inside the snout/nostril area or much under the jaw because nobody can really see in there, and you can paint it anyway).

Applying very generous amounts of plaster of paris over the dried paper mache layer
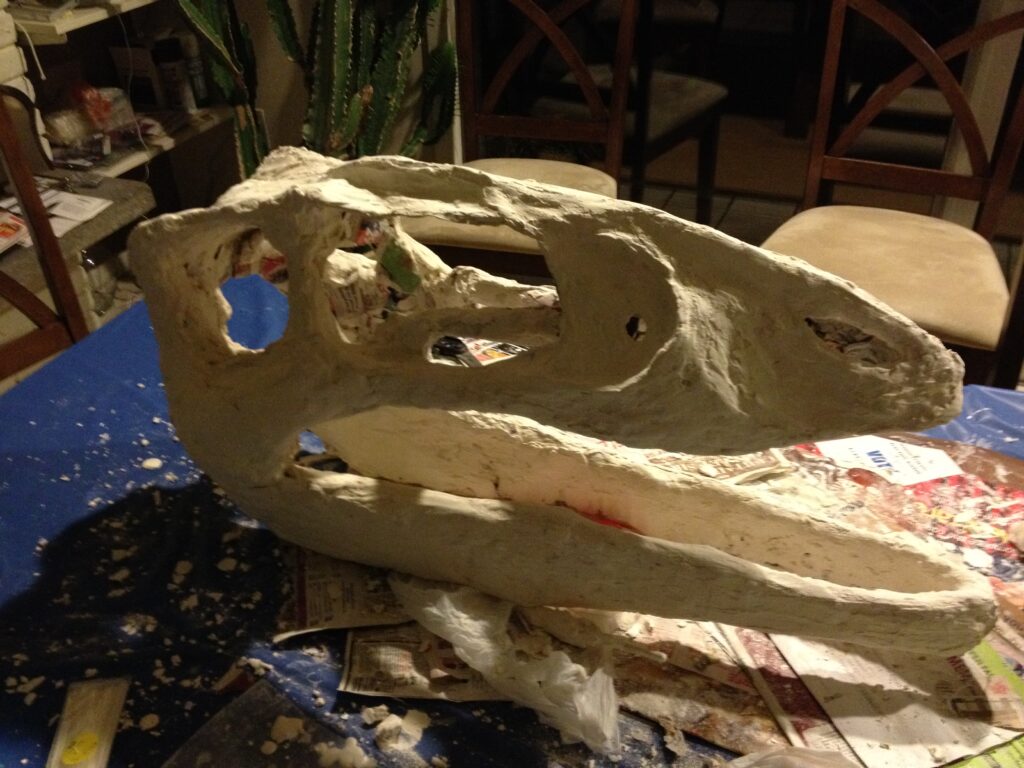
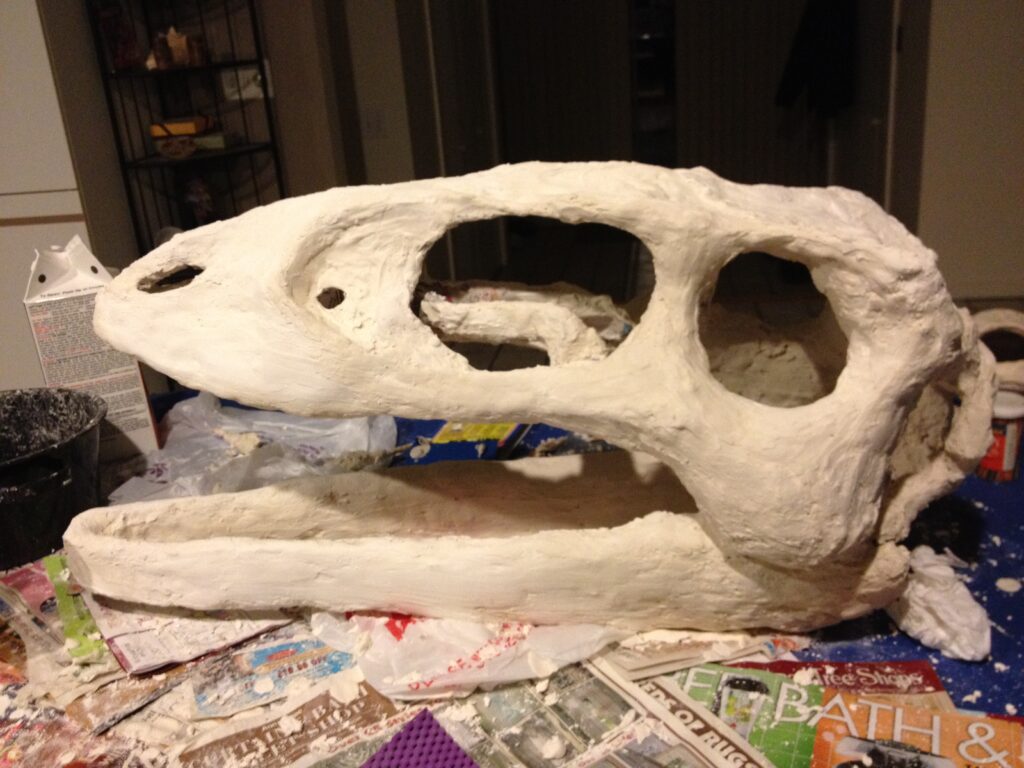
Plaster of paris first layer nearly complete – it’s still quite bumpy at this point, don’t worry
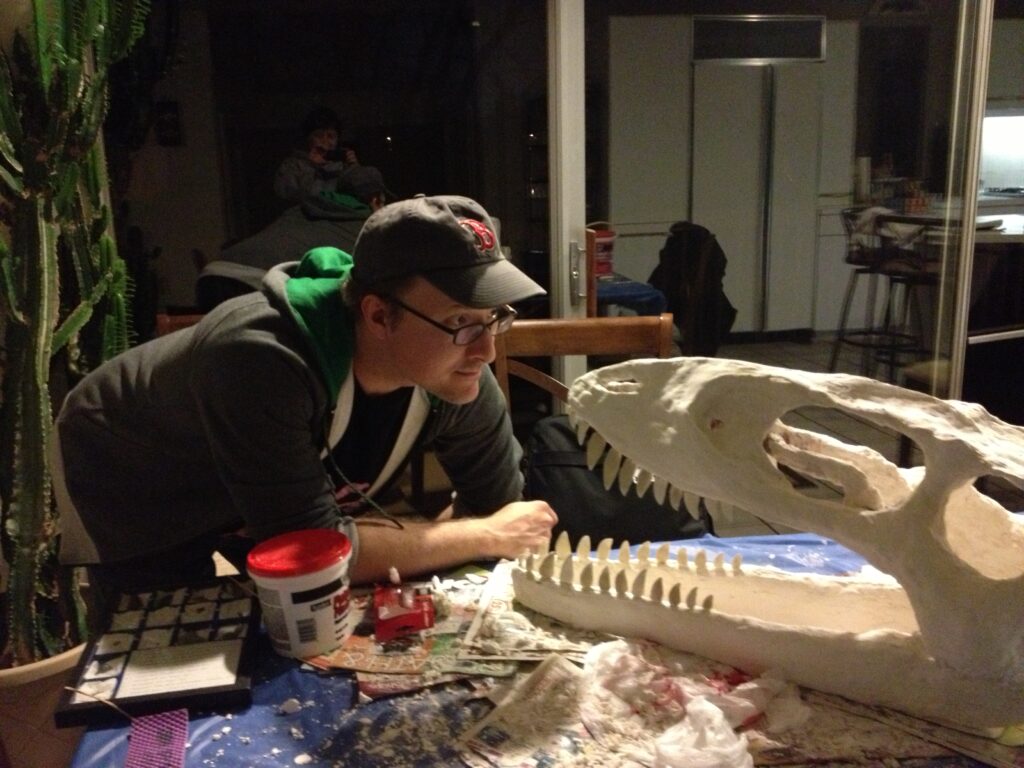
5. When you feel like the plastering is reasonably done, including some interior parts, then you can sand down some areas with coarse sandpaper to look like bone grain (and get rid of extra pieces of dry plaster chunks), and optionally you can smooth over some areas with a wetter mixture of plaster, or use a professional plaster patching material to fill in some holes or smooth over rough spots (which is somewhat expensive and will break the 20$ budget).
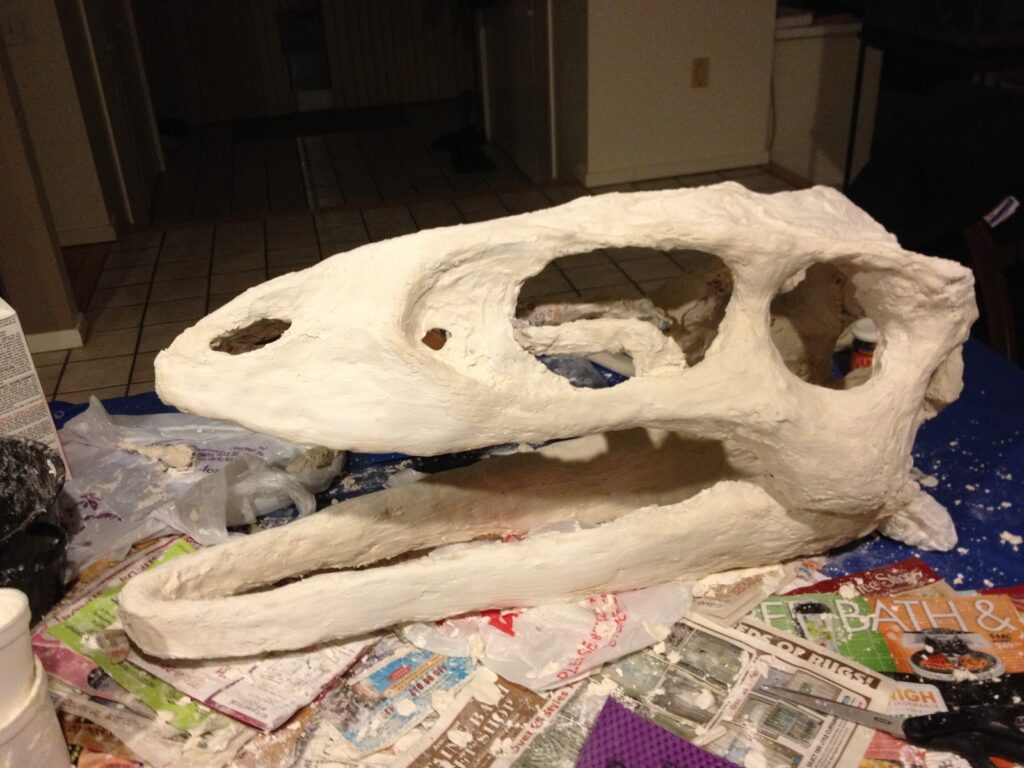
Note how (relatively) smooth the plaster is after sanding and applying some patches. But be sure not to make it too smooth, since fossil bones tend to be really rough.
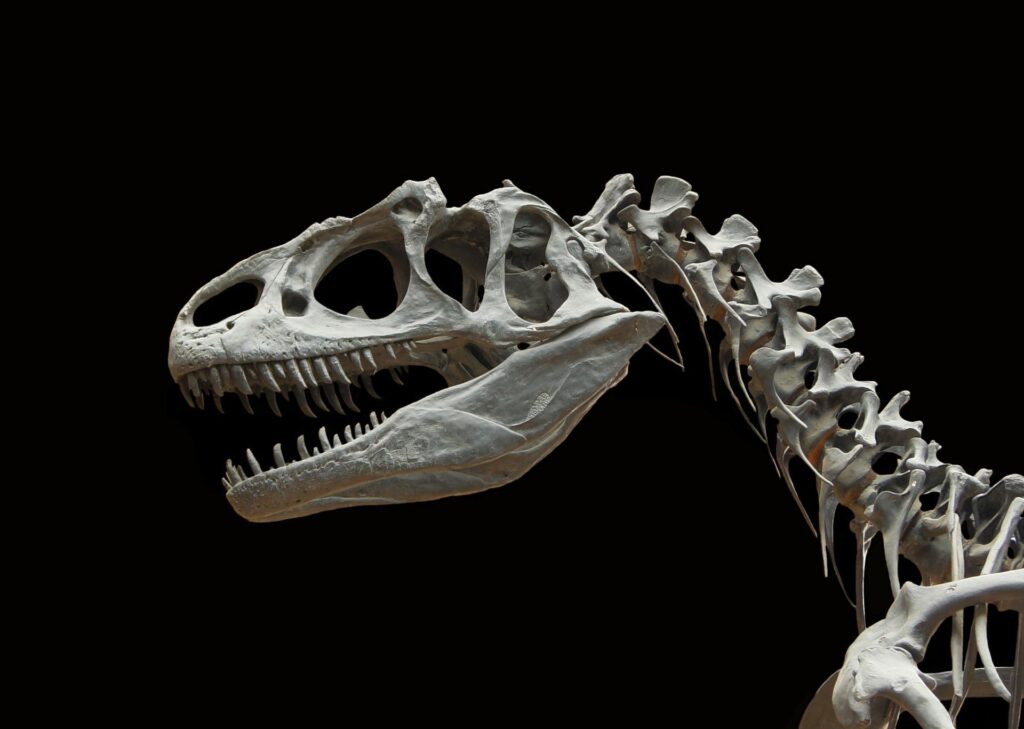
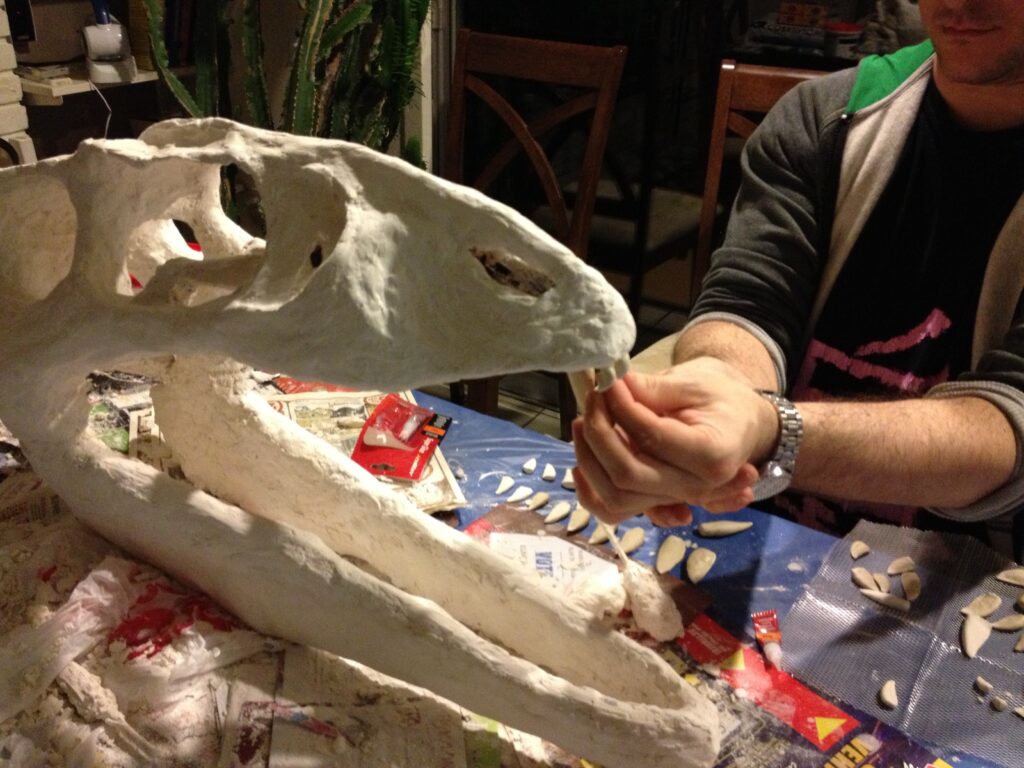
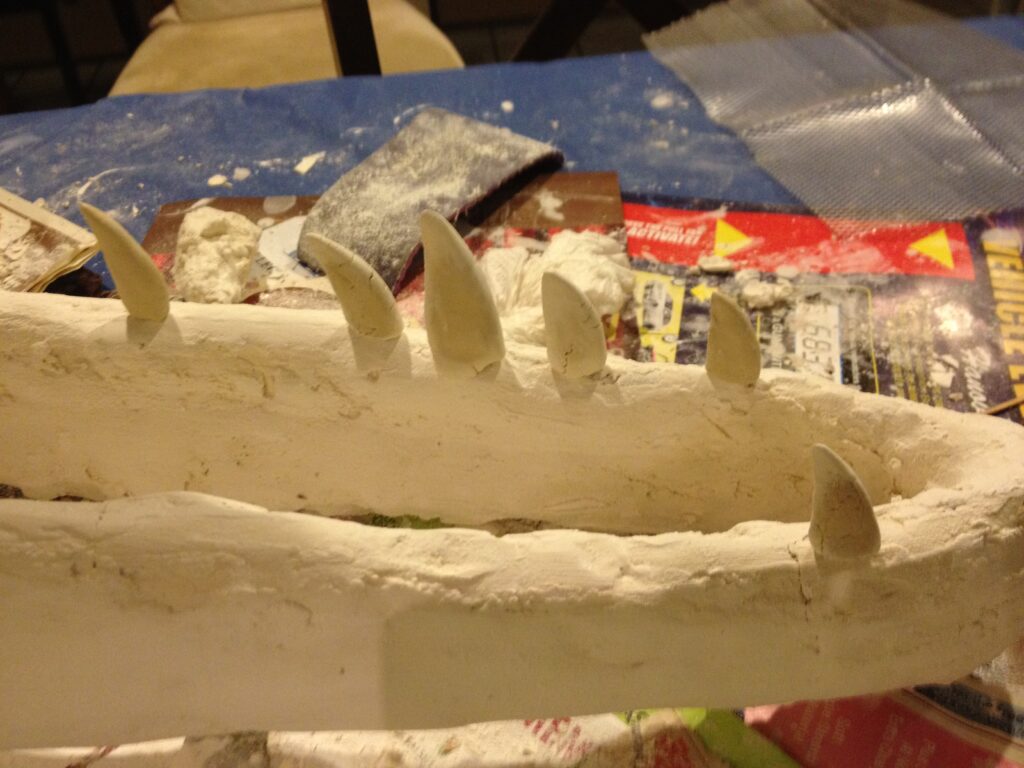
6. Take some paper based clay (which dries in about a day), and make teeth. Be sure to count the teeth in your favorite theropod to try to get it approximately close. For instance tyrannosaurs and nanotyrranus may have about 11-13 teeth on a side. Make sure you have very tiny teeth in the very tip of the front of the jaw, and then very large ones, which become smaller and smaller as you get closer to the middle of the jaw (toward the throat). Note that most of the time, the noticeable teeth stop around halfway back, in the middle of the jaw. After letting them dry for a day, use superglue to attach them to the bottom and top of the jaw. Glue the tooth first and then hold it in place to make sure it sticks. If it’s not perfectly aligned or spaced it’s ok, because real dinosaur skulls are not perfect either. Then, once fully dry, it is best to cover around the roots of the teeth with a small amount of plaster or plaster patching material and anchor them to the jaw (and try to give them the appearance of a small circle around the tooth; check out google pictures of dinosaur jaws and see how the tooth root connects to a jaw).
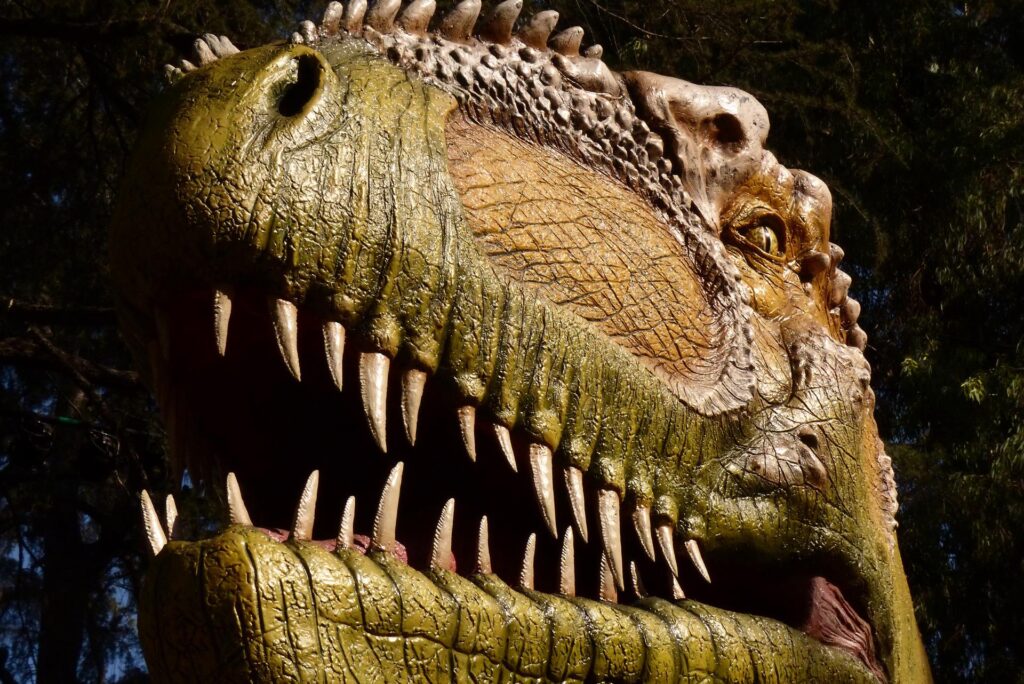
Example of teeth to model your own dinosaur teeth above. Be sure to count the teeth and make yours around the same size! There are plenty of examples online.
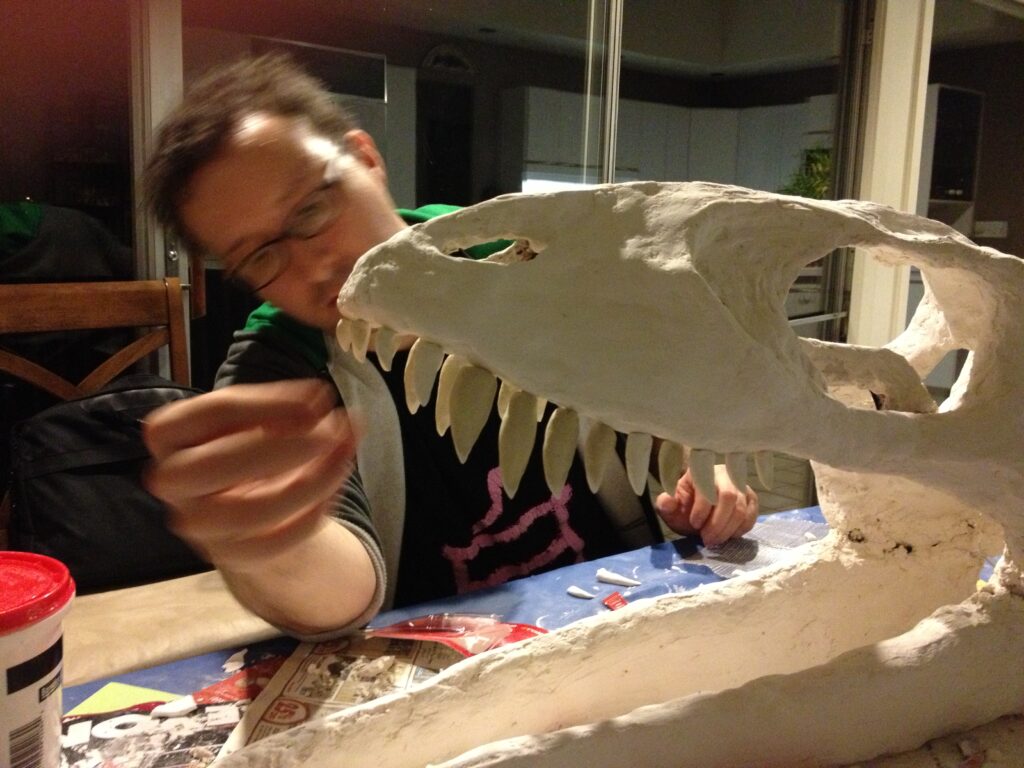
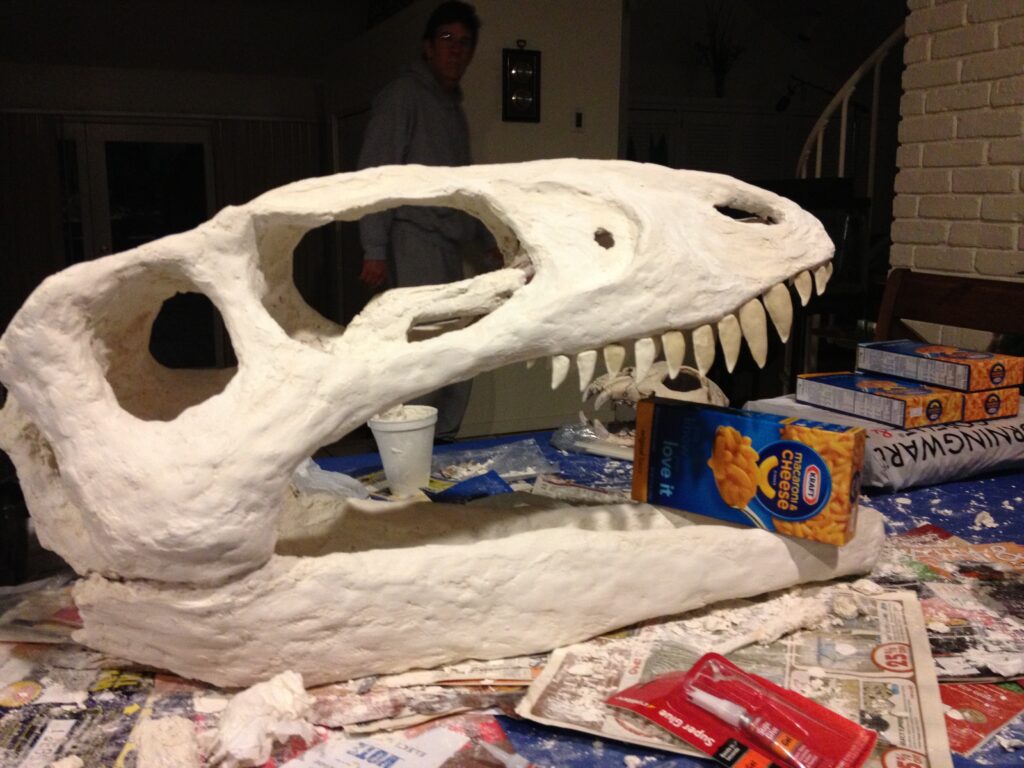
Once glued you should have a dinosaur skull that looks roughly finished, like this:
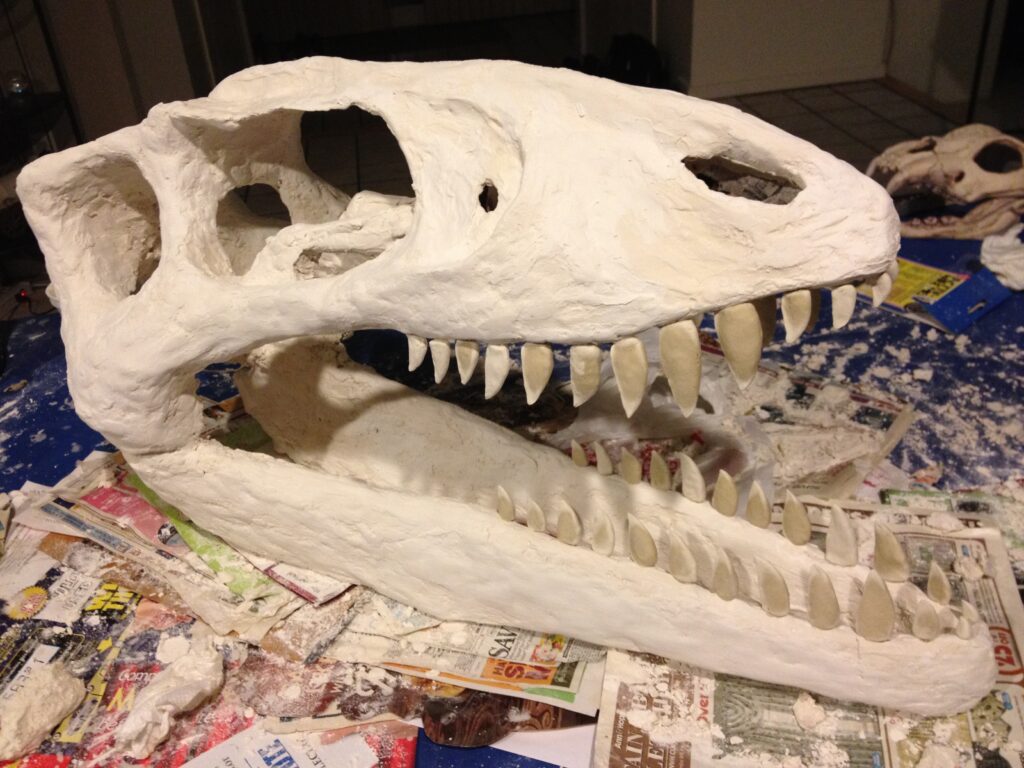
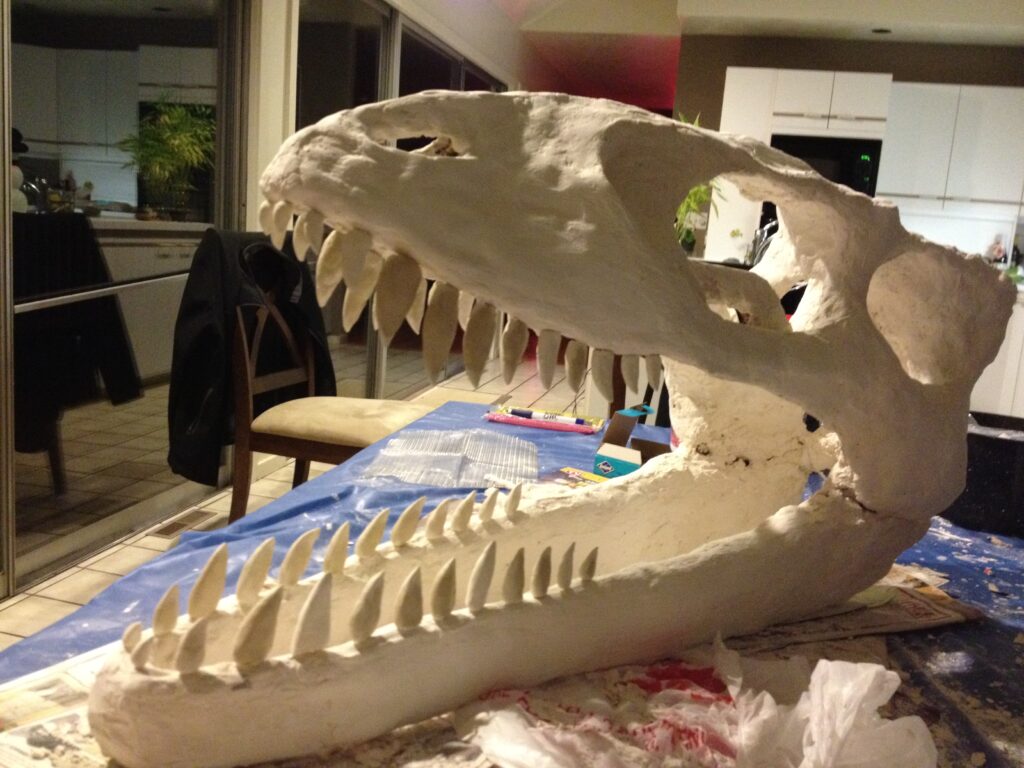
Dinosaur skull, with teeth
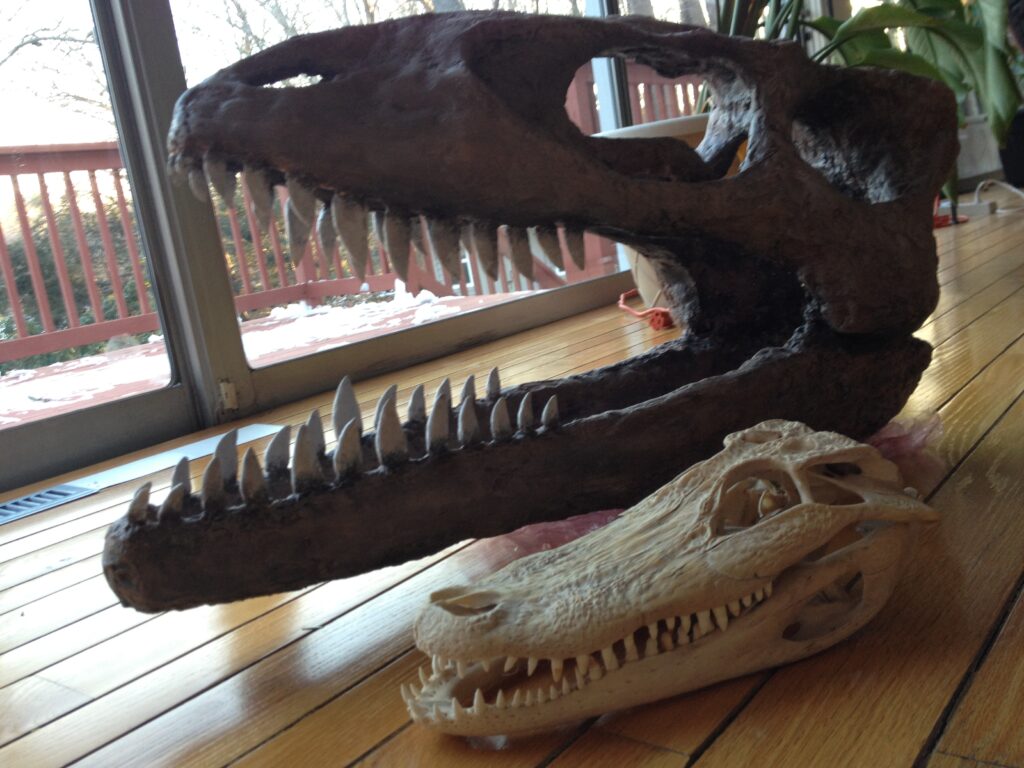
7. Be sure to use acrylic or other fast drying paint and paint the dinosaur in your favorite color. Most museums go for a light to dark brown, and then they take a darker color, like a black and rub it into all the crevices using a paper towel or sponge and wipe off the excess to give it an aged effect. Then, you can optionally coat it with a spray or paint-on varnish and wait a day for it to completely dry before handling. The finished product should be both lightweight and strong enough to touch and poke lightly without worrying that the plaster will break or collapse.
Finished dino skull compared to a real juvenile alligator skull:

Then, show off your dinosaur on the internet! Send us a pic of your dinosaur and we’ll feature it on our website.
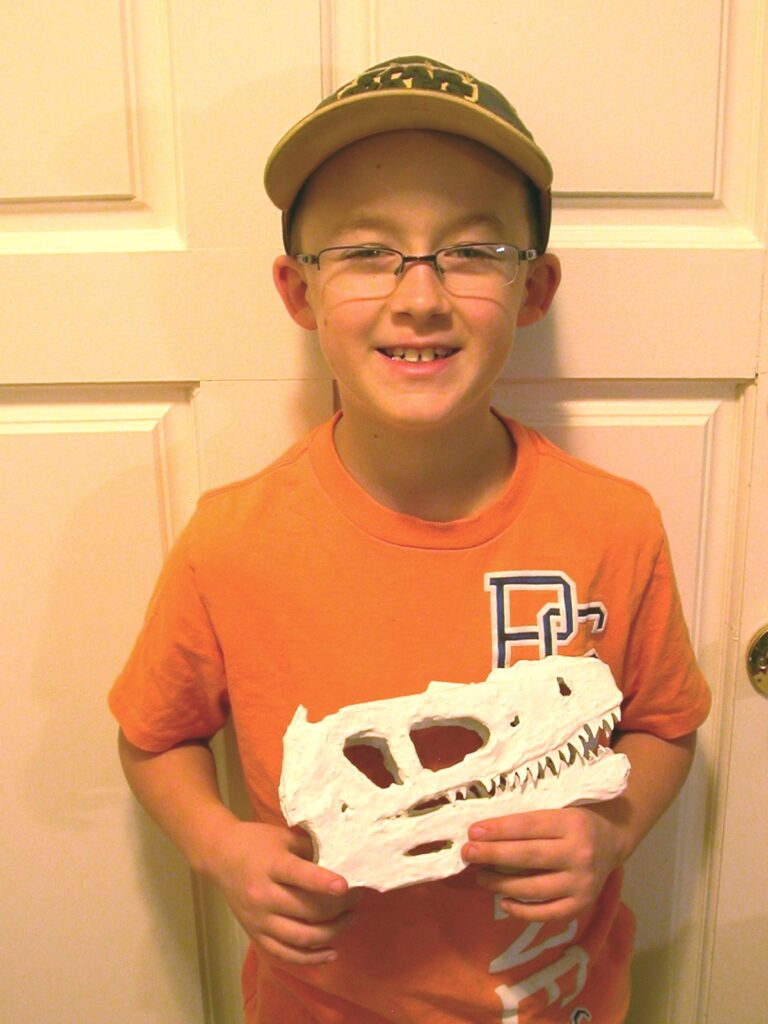
Check out this young man, London, here, who made his own dino skull after seeing my blog! He named it Rapty — way cool!